Tutorials / Sensors
BME280 environmental sensor
Temperature, pressure and humidity from one I²C chip, read by the real Adafruit library — calibration and all.
- BME280
What it is
The Bosch BME280 measures the three quantities of a weather station in a chip the size of a grain of rice. It talks I²C at 0x76 or 0x77 (an SDO pin on the breakout chooses), and it is not read directly: the library reads raw values and calibration constants from the chip and runs Bosch's compensation formulas. The cheaper BMP280 looks the same and lacks humidity.
In the simulator
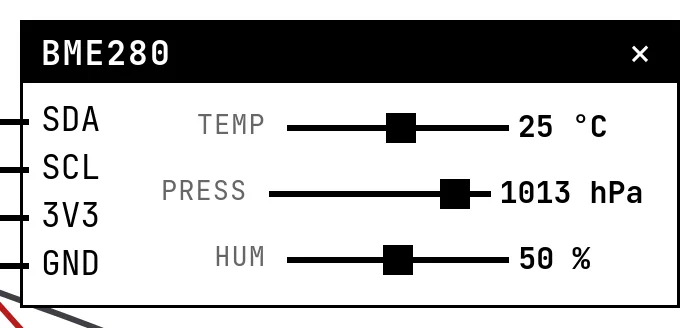
The block has three sliders: temperature (−40 to 85 °C), pressure (300 to 1100 hPa) and humidity. Settings hold the address and the Chip variant: switch it to BMP280 and the BME280 library refuses the sensor in begin(), exactly as it does when you buy the look-alike.
Pins
| Pin | What it is |
|---|---|
| SDA | I²C data — to a GPIO |
| SCL | I²C clock — to a GPIO |
| 3V3 | power — to a 3V3 symbol |
| GND | ground — to a GND symbol |
Wiring
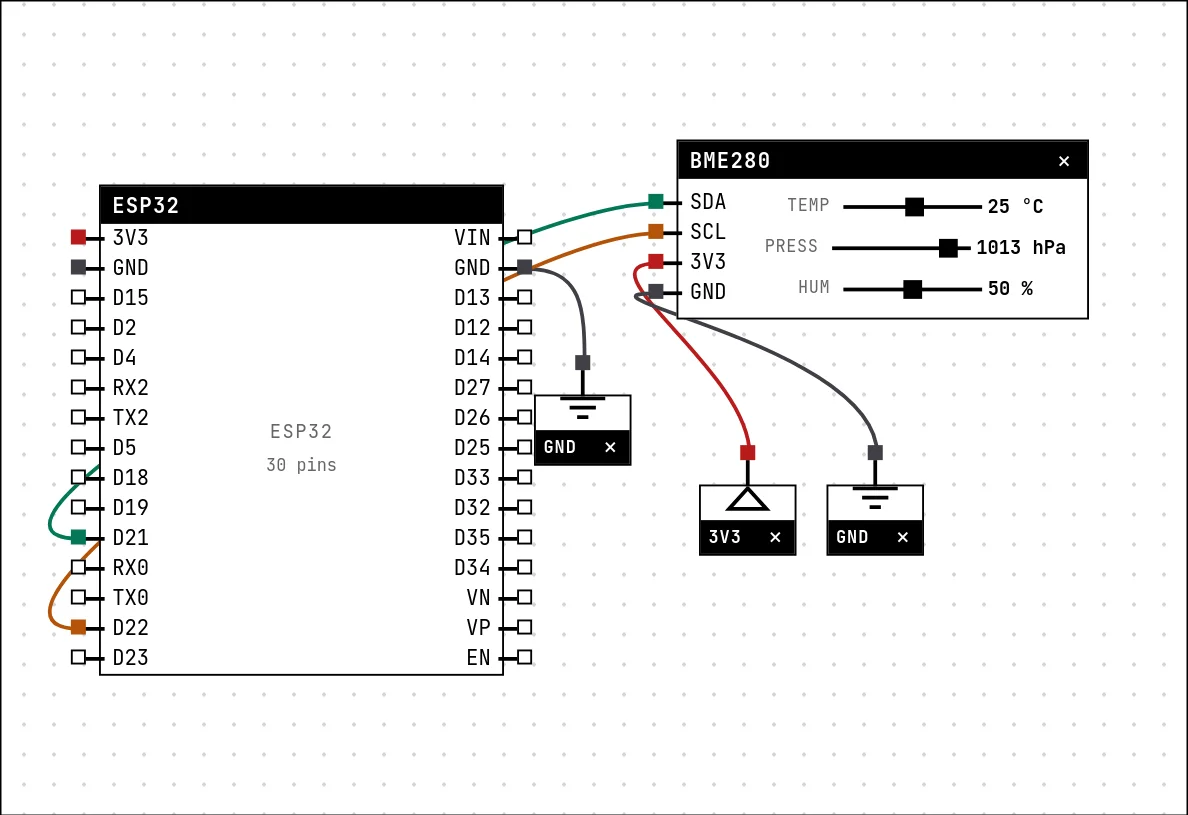
The circuit below is the example Weather station — BME280 from the lab — open it with Project → Open example… and it comes ready to run.
| BME280 pin | Goes to |
|---|---|
| SDA | D21 on the board (GPIO 21) |
| SCL | D22 on the board (GPIO 22) |
| 3V3 | a 3V3 symbol |
| GND | a GND symbol |
Settings
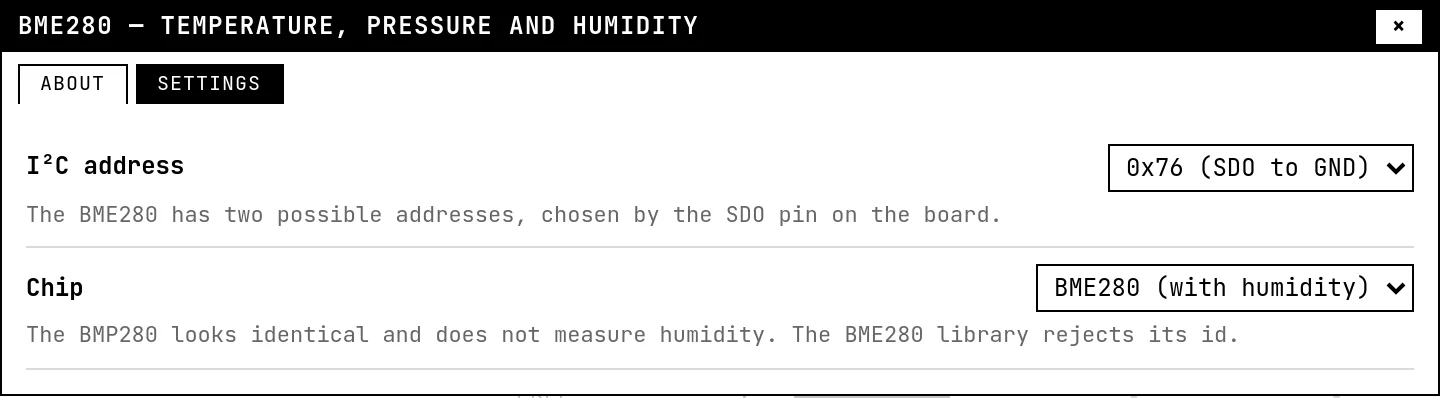
Double-click the block's title bar to open its card, then the Settings tab. Changes apply to the running simulation right away.
| Setting | Accepts | Default | Notes |
|---|---|---|---|
| I²C address | 0x76 (SDO to GND) · 0x77 (SDO to VCC) | 0x76 (SDO to GND) | The BME280 has two possible addresses, chosen by the SDO pin on the board. |
| Chip | BME280 (with humidity) · BMP280 (no humidity) | BME280 (with humidity) | The BMP280 looks identical and does not measure humidity. The BME280 library rejects its id. |
Code
#include <Arduino.h>
#include <Wire.h>
#include <Adafruit_BME280.h>

// SDA and SCL can be ANY GPIOs on the ESP32 — Wire.begin is what picks them.
const int SDA_PINO = 21, SCL_PINO = 22;
const float NIVEL_MAR_HPA = 1013.25;

Adafruit_BME280 bme;

void setup() {
  Serial.begin(115200);
  delay(300);
  Wire.begin(SDA_PINO, SCL_PINO);
  if (!bme.begin(0x76)) {
    Serial.println("BME280 not found — check SDA, SCL and the address");
    return;
  }
  Serial.println("BME280 ready");
}

void loop() {
  float t = bme.readTemperature();
  float p = bme.readPressure() / 100.0F;      // Pa -> hPa
  float u = bme.readHumidity();

  // pressure drops ~1 hPa every 8 m: the sensor doubles as an altimeter
  float altitude = bme.readAltitude(NIVEL_MAR_HPA);

  Serial.printf("%.1f C | %.1f hPa | %.0f %% | ~%.0f m\n", t, p, u, altitude);

  if (u > 80) Serial.println("  high humidity: is it going to rain?");
  if (t < 10) Serial.println("  cold!");
  delay(1000);
}Wire.begin(21, 22), bme.begin(0x76), then readTemperature(), readPressure() and readHumidity(). readAltitude(1013.25) turns pressure into an altitude — the sensor doubles as an altimeter. Libraries: Adafruit BME280, Adafruit Unified Sensor, Adafruit BusIO (the example lists them).
Run it
Press Build and run. The first build of a project takes a while; after that, only what changed is rebuilt.
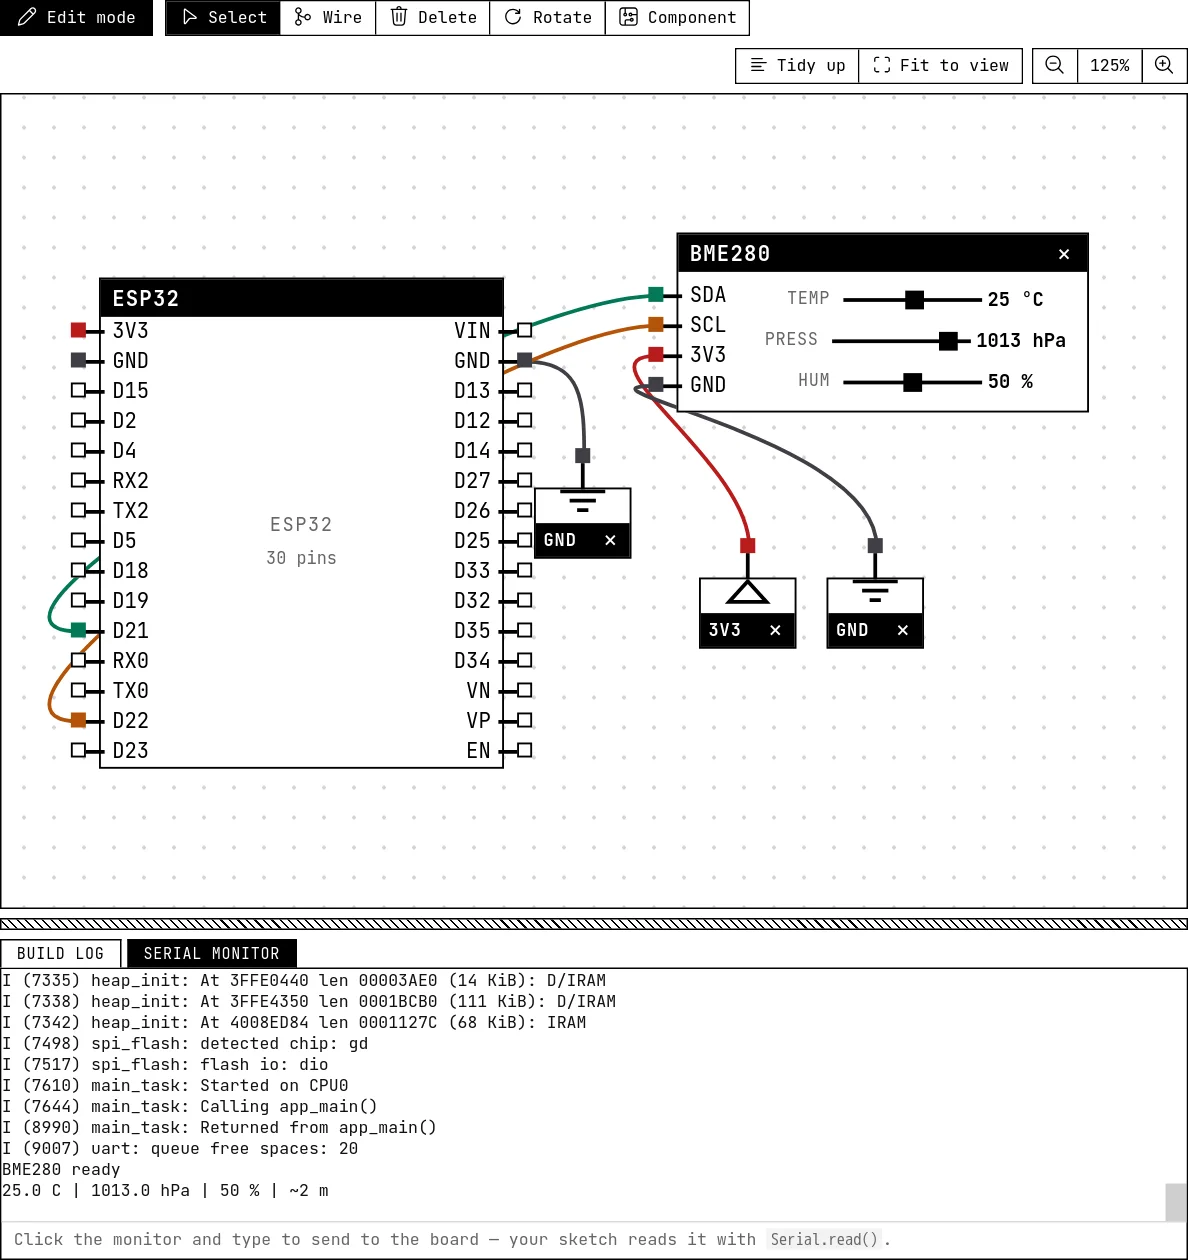
Drag any slider and the next line in the serial monitor follows, with the library's own formatting. Set the chip to BMP280 in Settings and press restart: “BME280 not found”.
How the simulation models it
- The simulation exposes the chip's register map: the calibration block of a real part, the chip id (0x60, or 0x58 for the BMP280), status, and raw temperature/pressure/humidity words. For each slider value it computes the raw word that makes Bosch's formula return exactly that value, so the library's numbers match the sliders to the decimal.
- The sensor is never “busy”, and there is no measurement noise.
- Any I²C device is addressed by address: two sensors at the same address would collide, as on the bench.
Try this
- Show the three readings on the OLED display (add it to the circuit on the same SDA/SCL — I²C is a bus).
- Compute the dew point from temperature and humidity.
See also
- OLED display (SSD1306) — The 0.96″ 128×64 screen on I²C: two wires, an address, and a library that draws text and shapes.
- MPU6050 accelerometer and gyroscope — Six axes on I²C: at rest the accelerometer measures gravity, and tilting redistributes it — that is how a phone knows it was turned.
- Character LCD with I²C backpack — The classic 16×2 text display cut down to two wires by a small I²C board — text, custom characters and a backlight.