Tutorials / Getting started
The serial monitor
Reading what the firmware prints, typing to the board, and an example that takes commands from the monitor.
The serial port is the one channel every microcontroller project uses to talk to a human. Serial.begin(115200) opens it; Serial.print and Serial.println write to it; Serial.read reads what came the other way. In the lab, the Serial monitor tab below the canvas is the other end of that cable.
Reading
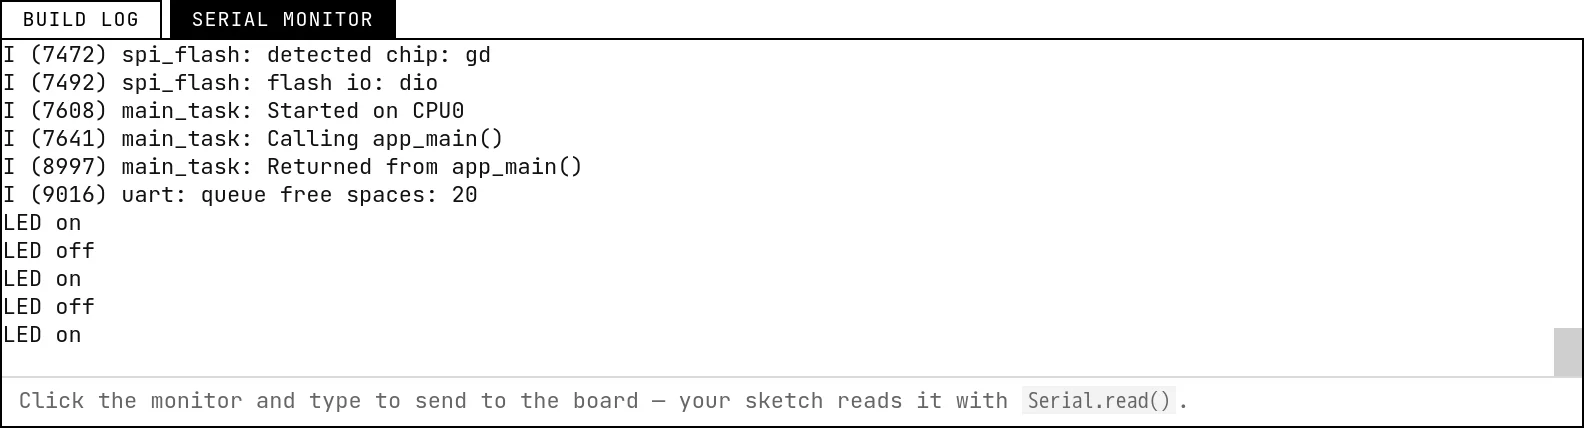
Every byte the firmware writes to the serial port shows up in the monitor as it happens. The monitor is a real terminal: \n starts a new line, \r returns to the start of the line, and the usual control sequences work. It keeps the last 64 KB of output; if you reload the page while a simulation is running, that history is shown again.
Use Serial.printf for anything with numbers in it — it is available on the ESP32 and it keeps lines readable:
Serial.printf("temp=%.1f C raw=%4d\n", temperature, raw);Typing to the board
Click inside the monitor and type: each character goes to the firmware, where Serial.available() and Serial.read() pick it up. Enter sends a carriage return (\r), so a sketch that waits for the end of a line should accept both \r and \n.
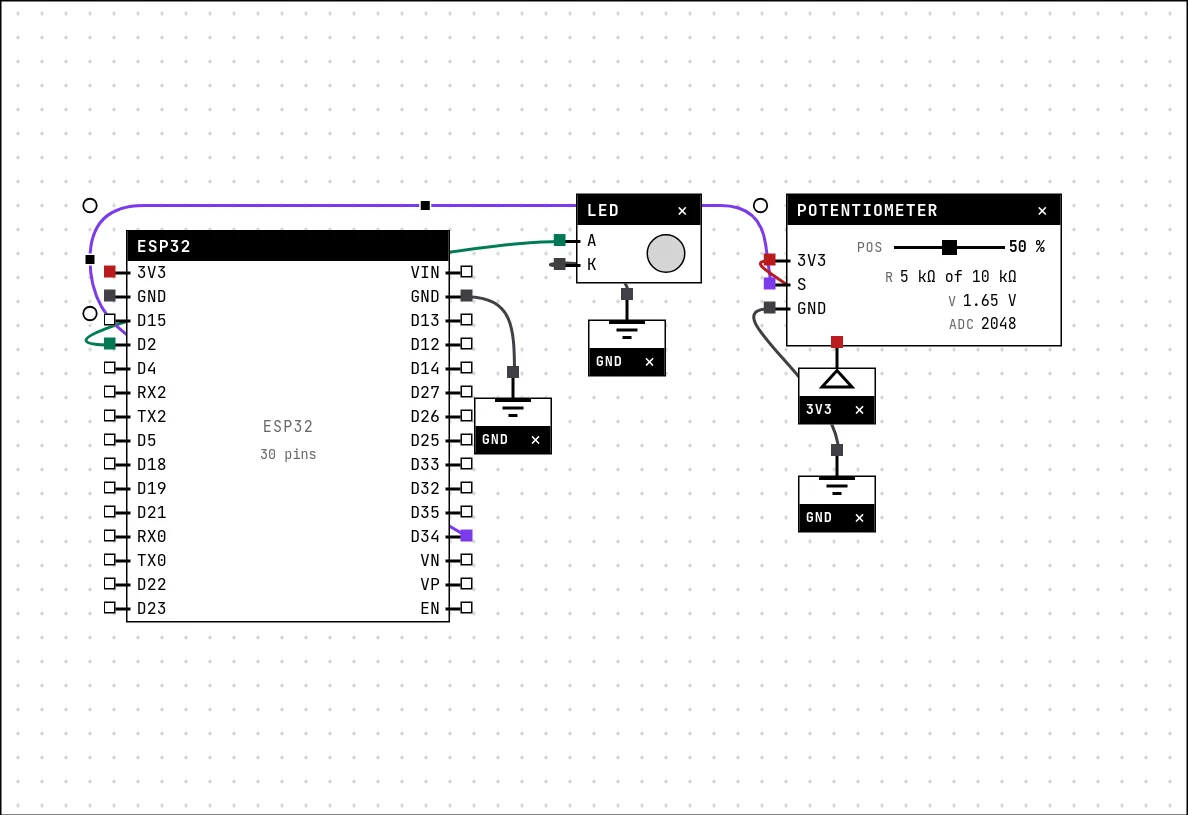
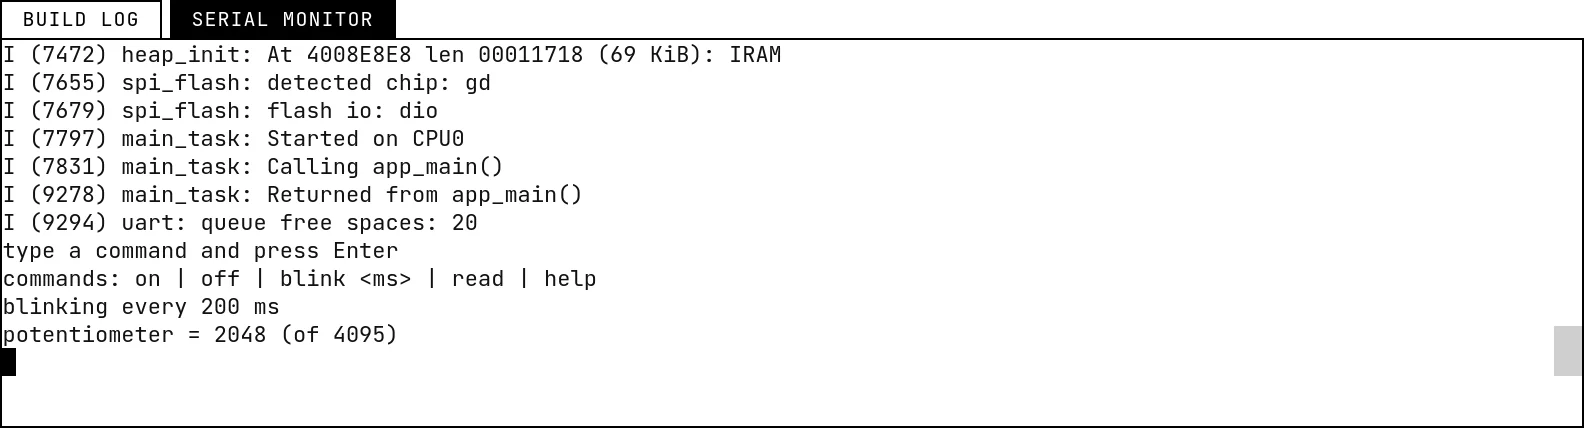
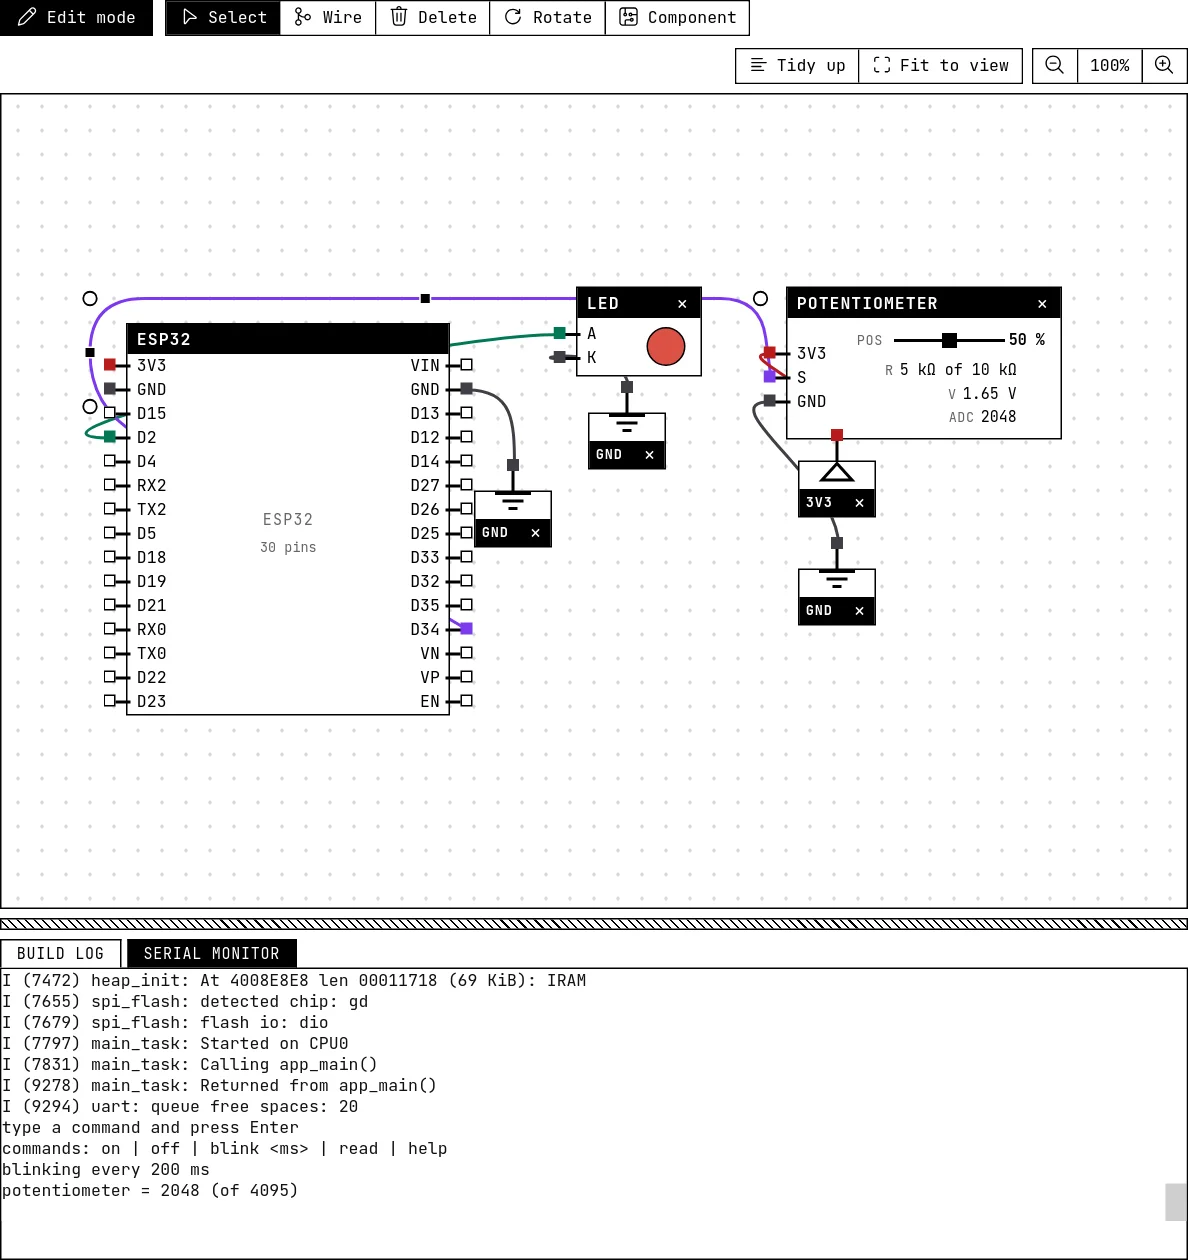
The example Serial commands: drive the board from the monitor (Project → Open example…) is a small command interpreter: it collects a line, then obeys on, off, blink 200, read and help. Two habits worth copying from it: the line is only handled when Enter arrives, and the blinking runs on millis() so the loop never stops reading.
// Serial commands: drive the board from the monitor
//
// The serial port goes both ways. This sketch waits for a LINE typed in the
// serial monitor (press Enter to send it) and obeys a few commands:
//
//   on            turn the LED on
//   off           turn the LED off
//   blink <ms>    blink the LED with that period, e.g. "blink 200" (0 stops)
//   read          print the potentiometer reading
//   help          this list
//
// Two things every command reader needs, and this one shows: collect
// characters until the end of the line (Enter sends '\r', some monitors send
// '\n' — accept both), and keep loop() free while nothing arrives, so the
// blinking runs on millis() and never blocks the reading.
//
// Wiring: LED anode on GPIO 2, potentiometer wiper on GPIO 34.
#include <Arduino.h>

const int LED = 2;
const int POT = 34;

String line;                     // the characters received so far
unsigned long period = 0;        // blink period in ms; 0 = not blinking
unsigned long lastToggle = 0;
bool ledOn = false;

void showHelp() {
  Serial.println("commands: on | off | blink <ms> | read | help");
}

void setLed(bool on) {
  ledOn = on;
  digitalWrite(LED, on ? HIGH : LOW);
}

void handle(String cmd) {
  cmd.trim();
  cmd.toLowerCase();
  if (cmd == "on") {
    period = 0;
    setLed(true);
    Serial.println("LED on");
  } else if (cmd == "off") {
    period = 0;
    setLed(false);
    Serial.println("LED off");
  } else if (cmd.startsWith("blink")) {
    period = cmd.substring(5).toInt();          // "blink 200" -> 200
    if (period == 0) setLed(false);
    Serial.printf("blinking every %lu ms\n", period);
  } else if (cmd == "read") {
    Serial.printf("potentiometer = %d (of 4095)\n", analogRead(POT));
  } else if (cmd == "help") {
    showHelp();
  } else {
    Serial.printf("unknown command \"%s\" - type help\n", cmd.c_str());
  }
}

void setup() {
  Serial.begin(115200);
  pinMode(LED, OUTPUT);
  Serial.println("type a command and press Enter");
  showHelp();
}

void loop() {
  // 1. read whatever arrived, one character at a time
  while (Serial.available()) {
    char c = Serial.read();
    if (c == '\r' || c == '\n') {               // end of the line
      if (line.length()) handle(line);
      line = "";
    } else if (line.length() < 40) {
      line += c;
    }
  }

  // 2. blink without blocking: the reading above keeps running in between
  if (period && millis() - lastToggle >= period) {
    lastToggle = millis();
    setLed(!ledOn);
  }
}
About the speed
On a real bench the speed set in Serial.begin() must match the speed of the monitor, or you get garbage. Here there is no cable, so any speed works — but keep 115200, the standard for ESP32 boards, so your sketch runs unchanged on the hardware.
See also
- Build, run and read the log — What happens when you press Build and run, the states of the simulation, the build log and its clickable errors, stop and restart, and why a build can wait in a queue.
- Your first circuit: blink an LED — From an empty canvas to a blinking LED — placing a part, drawing wires, writing the code, saving and running. Ten minutes, and you will have used every part of the lab once.