Tutorials / Connectivity
Wi-Fi and the router
The ESP32 only connects if there is a router block with the right name and password — and then it reaches the real internet.
- OLED display
- LED
- Wi-Fi router
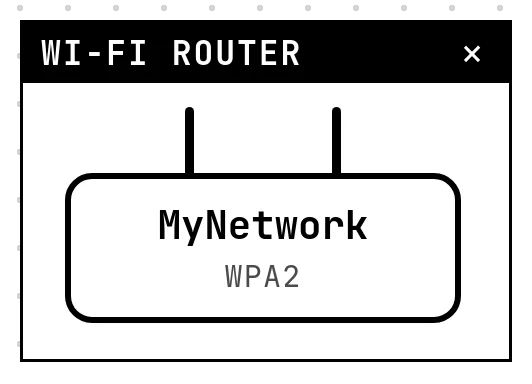
What it is
The ESP32 has Wi-Fi, and WiFi.begin(ssid, password) is where almost every connected project starts. On a bench, what happens next depends on the network around you: the name must exist, the password must match, and only then does DHCP hand out an address and the internet becomes reachable.
In the simulator
The Wi-Fi router block is that network. It has no pins — it is on the air — and its Settings are the router's: network name, password (empty for an open network), channel and whether the name is hidden. The block shows the name and “WPA2” or “open”. Without a router, or with the wrong name or password, the sketch does not connect, and the reason shows in the serial monitor with a [STANNUM] line explaining it. Connected, the firmware has a real network: HTTP, MQTT, NTP — whatever the code does, the bytes really travel.
Wiring
The circuit below is the example WiFi: fetch a page from the internet from the lab — open it with Project → Open example… and it comes ready to run.
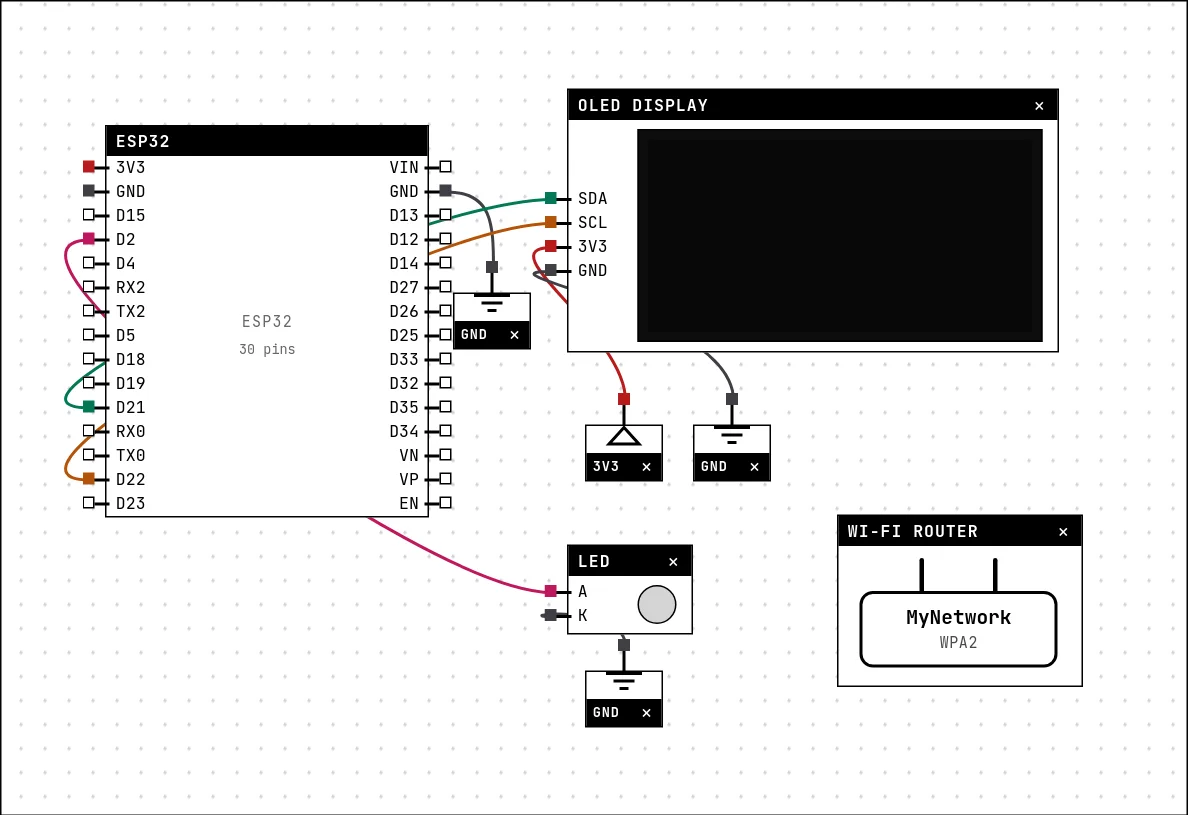
| Wi-Fi router pin | Goes to |
|---|
Settings
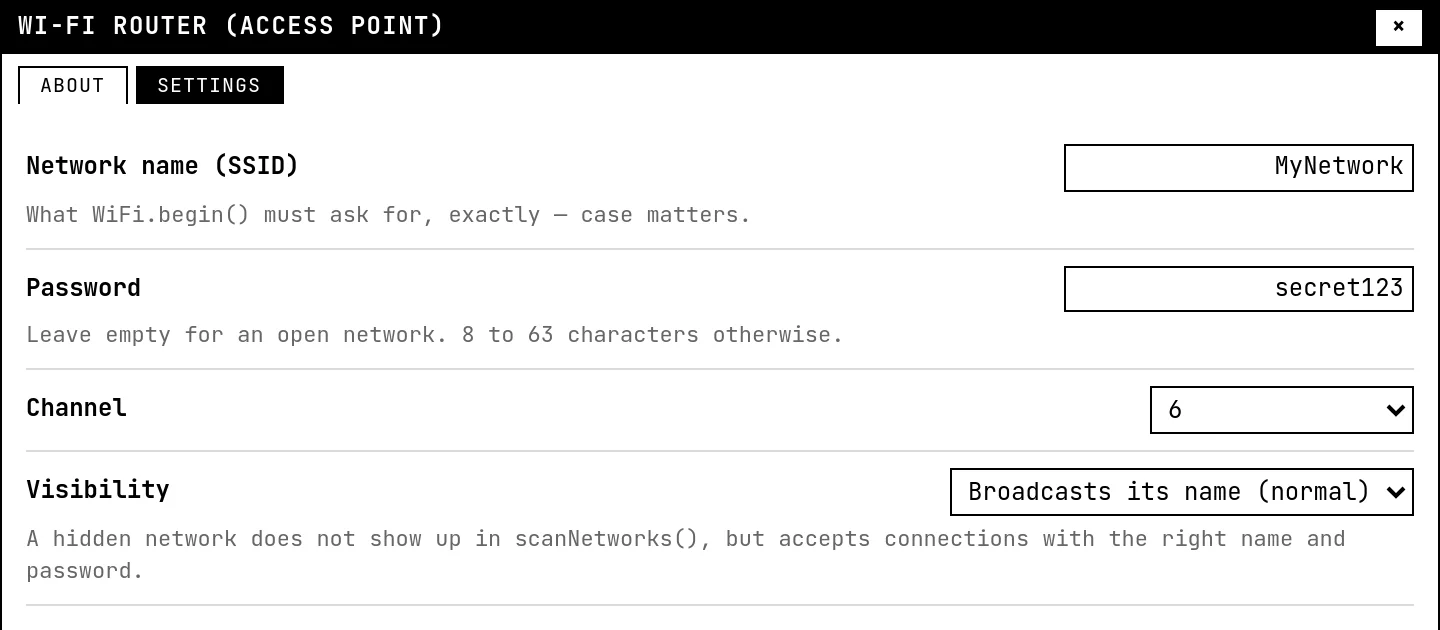
Double-click the block's title bar to open its card, then the Settings tab. Changes apply to the running simulation right away.
| Setting | Accepts | Default | Notes |
|---|---|---|---|
| Network name (SSID) | text (up to 32 characters) | MyNetwork | What WiFi.begin() must ask for, exactly — case matters. |
| Password | text (up to 63 characters) | secret123 | Leave empty for an open network. 8 to 63 characters otherwise. |
| Channel | 1 · 2 · 3 · 4 · 5 · 6 · 7 · 8 · 9 · 10 · 11 · 12 · 13 | 6 | |
| Visibility | Broadcasts its name (normal) · Hidden network | Broadcasts its name (normal) | A hidden network does not show up in scanNetworks(), but accepts connections with the right name and password. |
Code
#include <Arduino.h>
#include <WiFi.h>
#include <HTTPClient.h>
#include <Wire.h>
#include <Adafruit_GFX.h>
#include <Adafruit_SSD1306.h>

Adafruit_SSD1306 tela(128, 64, &Wire, -1);
const int LED = 2;

// These two must match the "Wi-Fi router" block in the circuit — name and
// password, exactly — or the connection never comes, as on a real board.
const char *REDE  = "MyNetwork";
const char *SENHA = "secret123";

void escrever(int linha, const String &texto) {
  tela.setCursor(0, linha * 10);
  tela.print(texto);
}

void setup() {
  Serial.begin(115200);
  pinMode(LED, OUTPUT);
  tela.begin(SSD1306_SWITCHCAPVCC, 0x3C);
  tela.setTextSize(1);
  tela.setTextColor(SSD1306_WHITE);

  tela.clearDisplay();
  escrever(0, "connecting...");
  escrever(1, REDE);
  tela.display();

  WiFi.begin(REDE, SENHA);
  // begin() does NOT wait for the connection: this loop is what waits. Same on
  // the real board — that is why every WiFi example starts with it.
  while (WiFi.status() != WL_CONNECTED) {
    Serial.print(".");
    delay(300);
  }
  digitalWrite(LED, HIGH);
  Serial.println();
  Serial.print("IP: ");
  Serial.println(WiFi.localIP());

  tela.clearDisplay();
  escrever(0, "connected!");
  escrever(1, "IP " + WiFi.localIP().toString());
  escrever(2, "RSSI " + String(WiFi.RSSI()) + " dBm");
  tela.display();
  delay(1500);
}

void loop() {
  HTTPClient http;
  http.begin("http://example.com/");
  int codigo = http.GET();             // negative = it never even replied

  tela.clearDisplay();
  escrever(0, "GET example.com");
  if (codigo > 0) {
    String corpo = http.getString();
    Serial.printf("HTTP %d, %u bytes\n", codigo, corpo.length());
    escrever(1, "HTTP " + String(codigo));
    escrever(2, String(corpo.length()) + " bytes");
    escrever(4, "IP " + WiFi.localIP().toString());
  } else {
    Serial.printf("failed: %s\n", http.errorToString(codigo).c_str());
    escrever(1, "failed");
    escrever(2, http.errorToString(codigo));
  }
  tela.display();
  http.end();                          // always close it: or the socket gets stuck

  delay(8000);
}WiFi.begin() does not wait: the loop on WiFi.status() != WL_CONNECTED is what waits, on a board and here. Then HTTPClient fetches a page from the internet, and the length of what came back goes to the OLED display and the serial monitor. The library list is for the display; Wi-Fi needs nothing extra.
Run it
Press Build and run. The first build of a project takes a while; after that, only what changed is rebuilt.
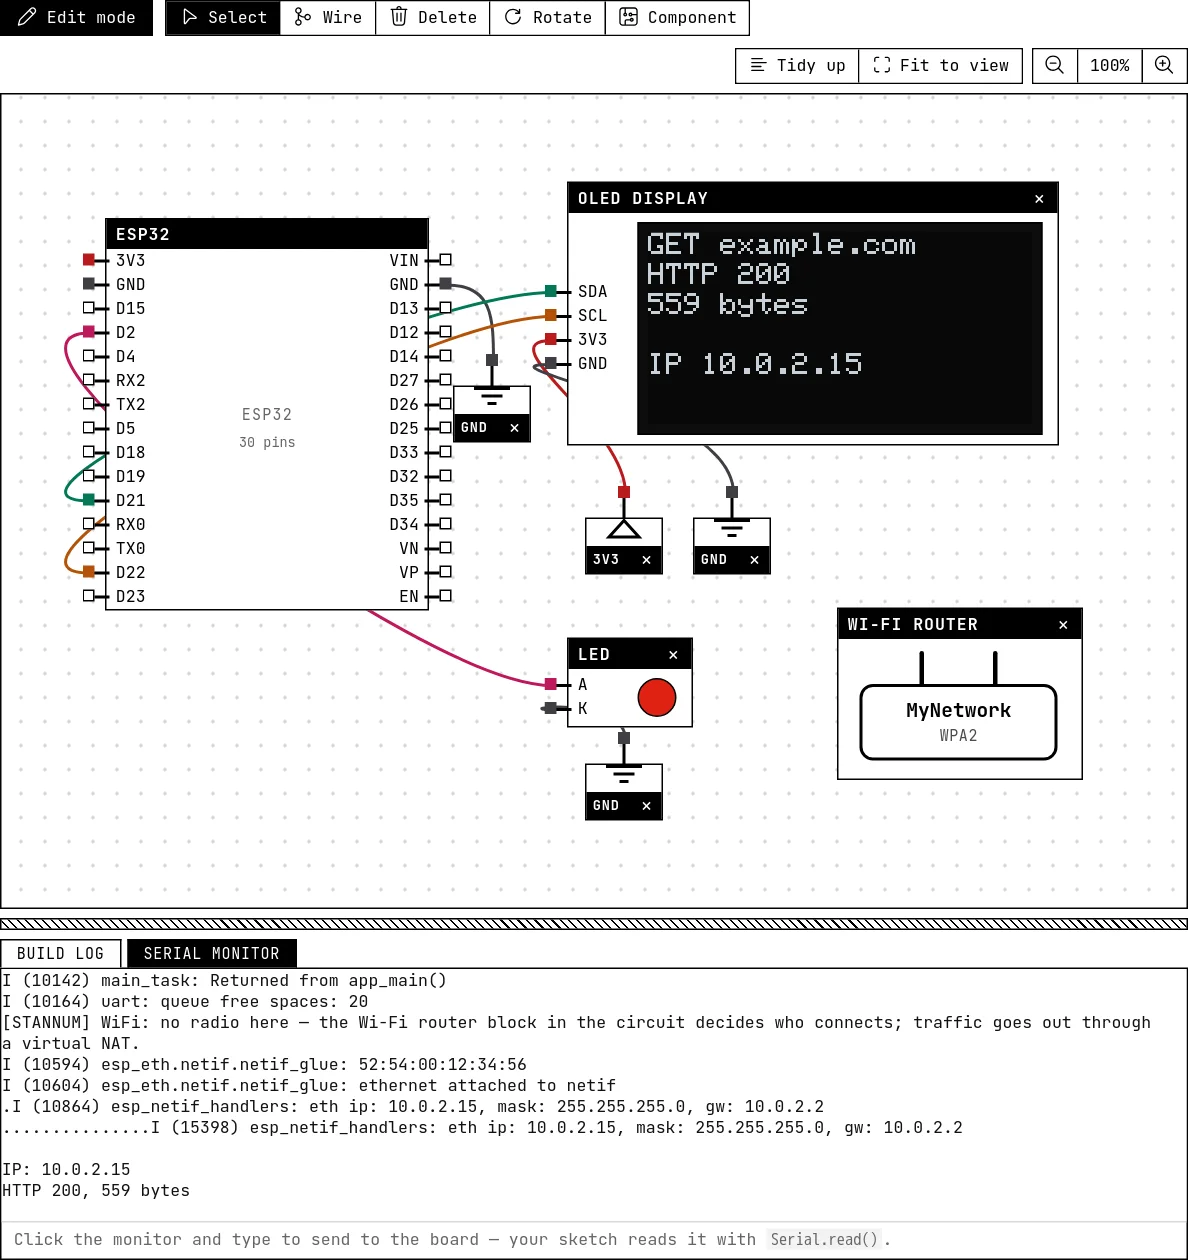
Dots while it connects, then the IP address, then one HTTP request every 8 seconds with the status code and the number of bytes. Now change the router's password in Settings and press restart: the dots never end, and the serial monitor says why.
How the simulation models it
- Association is decided by the router blocks in the circuit and follows the chip's own rules: no router with that name →
WL_NO_SSID_AVAILand the chip keeps scanning; wrong password → the handshake times out and the chip retries forever; a password given for an open network → the network is not found (the chip only looks for protected networks then). Each step takes the time it takes on the radio, and the reason is printed. - Connected,
localIP()is 10.0.2.15 with the gateway at 10.0.2.2,RSSI()reports −52 dBm andBSSID()the router's address.scanNetworks()lists the routers in the circuit — except hidden ones, which still accept a connection. - Internet access is real, through the server's connection. Access-point mode (
softAP) and Bluetooth are not available.
Try this
- Add a second router with another name and switch the sketch between the two.
- Make the router's network open (empty password) and keep a password in the code: read what the serial monitor reports.
- Fetch a JSON API instead of a page and print one field of it.
See also
- OLED display (SSD1306) — The 0.96″ 128×64 screen on I²C: two wires, an address, and a library that draws text and shapes.
- LoRa radio — An SX1276/SX1278 module talking to a second radio kilometres away — no network in between, and every packet accounted for.
- The serial monitor — Reading what the firmware prints, typing to the board, and an example that takes commands from the monitor.