Tutorials / Getting started
Project libraries
Adding an Arduino library to a project: searching the official index, pinning a version, using a .zip from a URL, and what happens on the next build.
The Arduino core — Wire, SPI, Serial, WiFi, SD and the rest — is always available. Anything beyond it is a library, and libraries are listed per project under Tools → Project libraries….
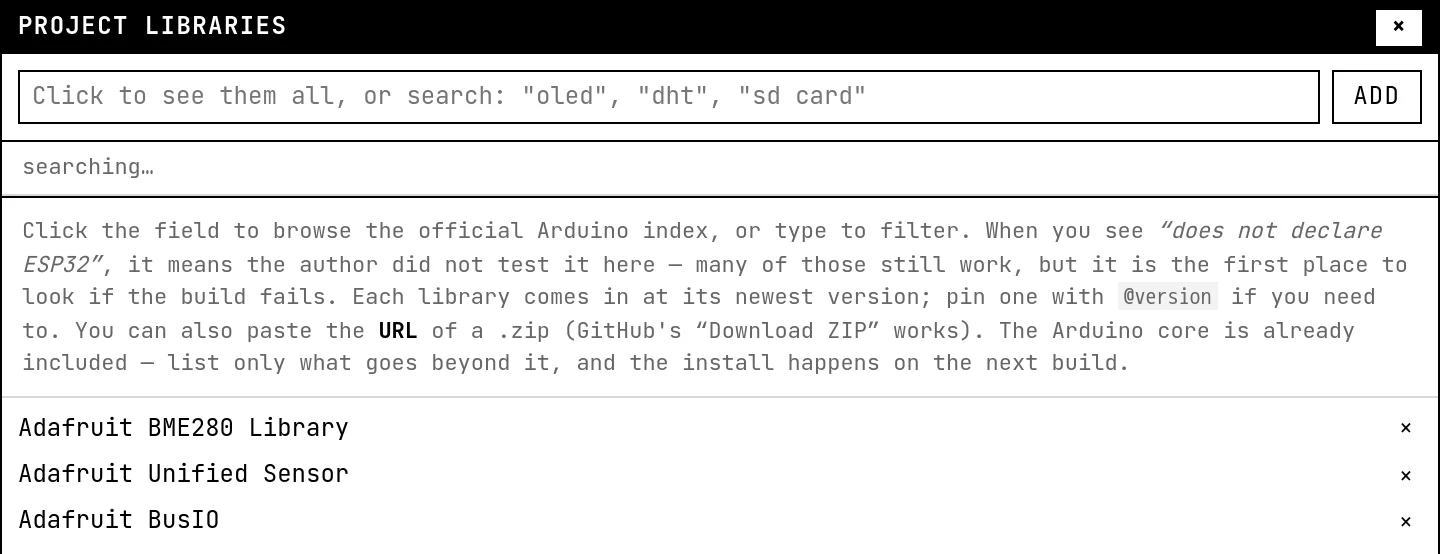
Adding one
- Click the field: it shows the whole official Arduino library index; type to filter (“oled”, “dht”, “sd card”).
- Click a result, or press Add. The library is listed for the project — and installed on the next build, which is therefore slower than usual.
- Include it in the code as its documentation says, and build.
Each library comes in at its newest version. To pin one, add @version to the name, e.g. Adafruit SSD1306@2.5.13. You can also paste the URL of a .zip — the “Download ZIP” link of a GitHub repository works.
Libraries in the examples
Examples that need a library bring it along — the weather station lists the Adafruit BME280 library, the OLED dashboard lists Adafruit SSD1306 and GFX. Open the example and the list is already filled in. A project can list up to 10 libraries.
When the guides of this site mention a library, it is one of these: the name to search for is given exactly.
See also
- Projects, files and examples — Where your work lives, how Save and Open work, files and folders in a project, the examples gallery and the keyboard shortcuts.
- Build, run and read the log — What happens when you press Build and run, the states of the simulation, the build log and its clickable errors, stop and restart, and why a build can wait in a queue.