Tutorials / Getting started
Placing parts and wiring
The catalog, the Wire tool, junctions and free tracks, nets and their colors, the ground and power symbols, and the tools that move, rotate and delete.
The catalog
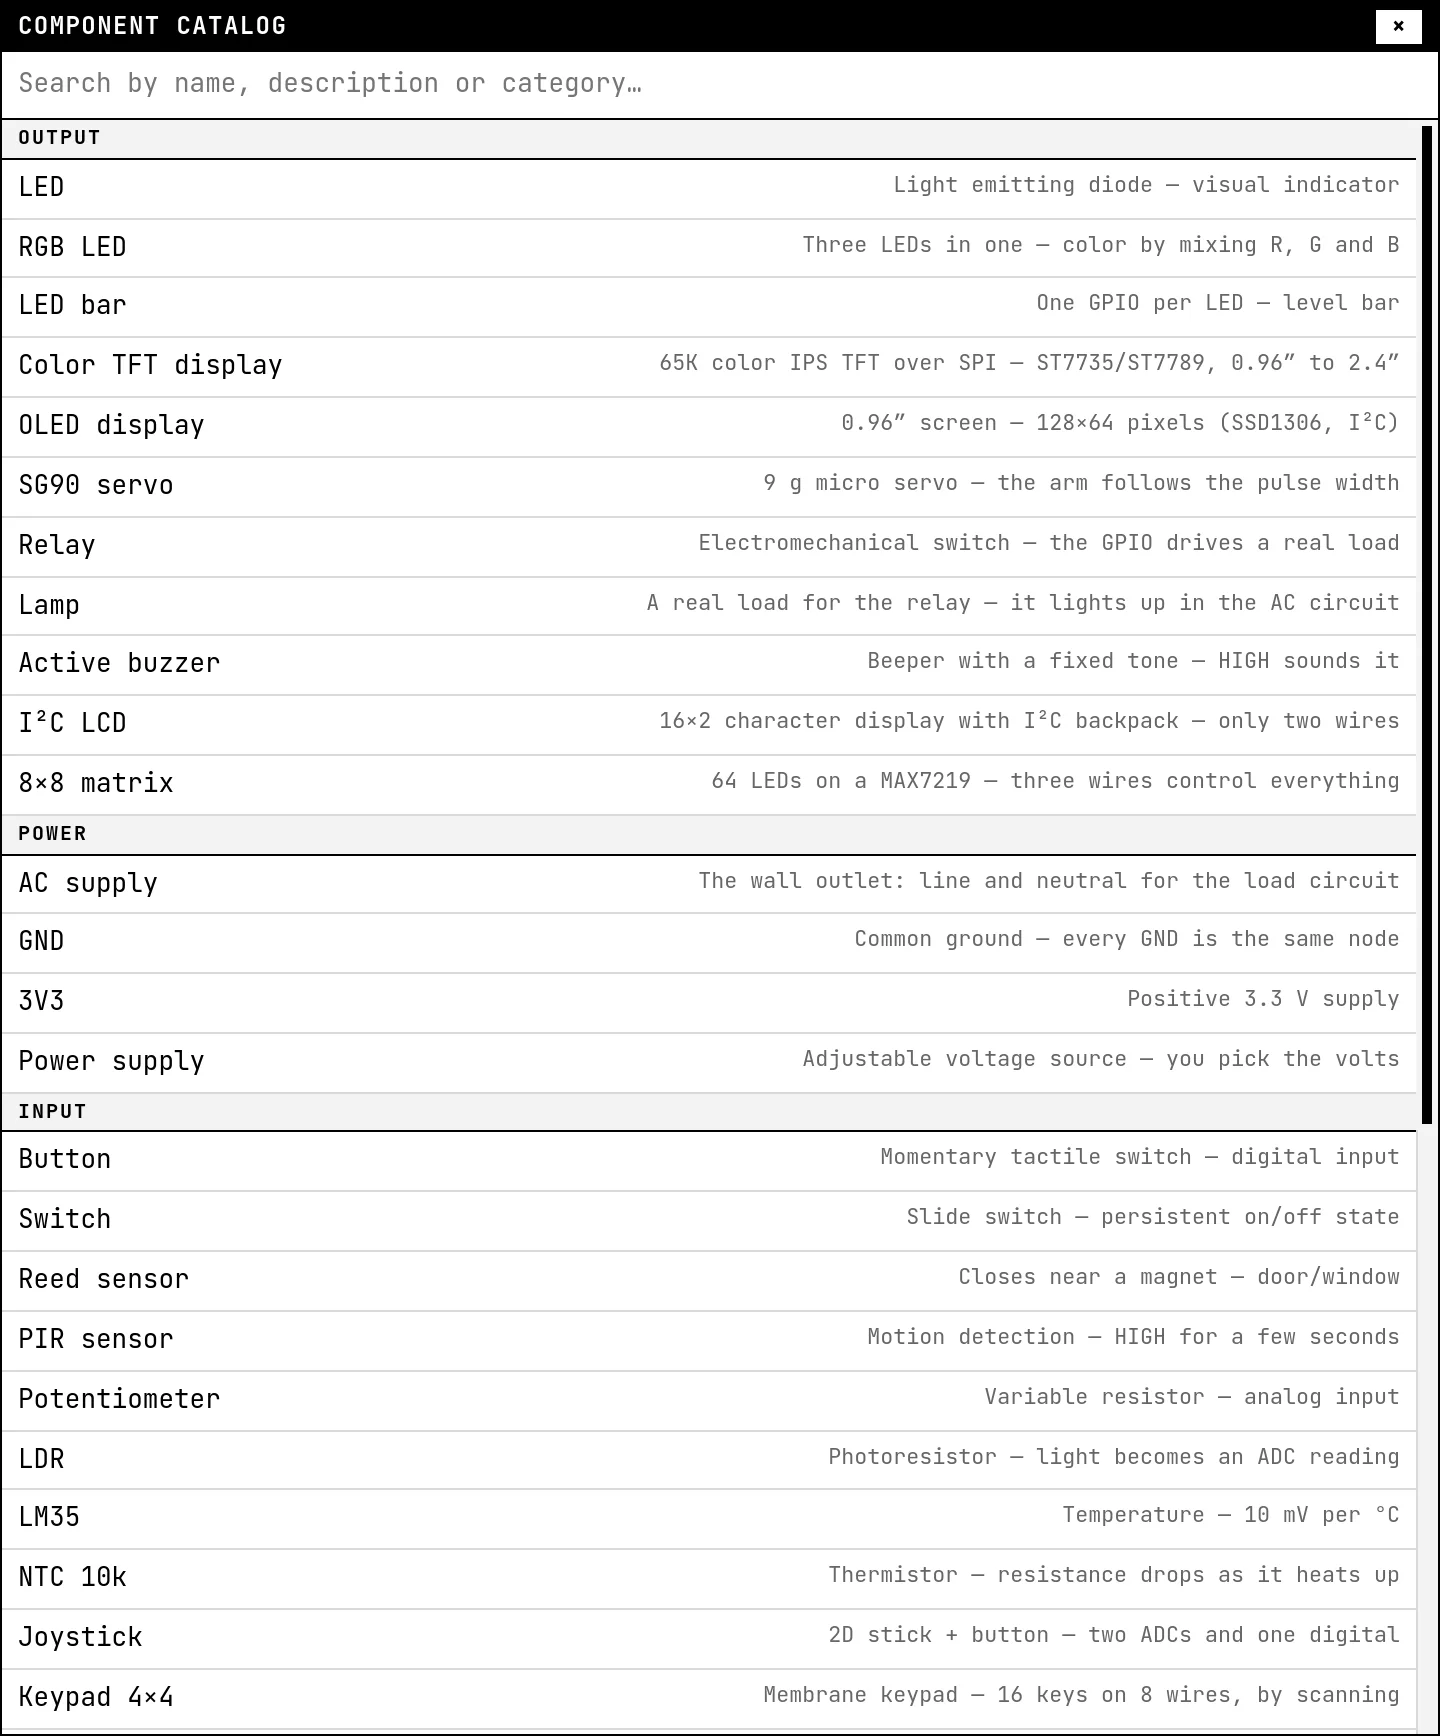
The Component button (or the palette icon) opens the catalog. Click a part and it sticks to the cursor; click on the canvas to drop it. Blocks snap to a 4-pixel grid and can be dragged by their title bar. There is one part you cannot add or remove: the board — every project has exactly one, and its model is chosen on its card (see ESP32 boards).
Drawing wires
Choose the Wire tool. Then:
- Click a pin. The wire starts there and follows the cursor.
- Optionally click on empty canvas one or more times: each click drops a corner, so you can route the wire around a block instead of through it.
- Click the destination pin. The wire is done.
Esc cancels a wire in progress. Two pins of the same block cannot be wired together, and a pair of pins that is already connected refuses a second wire — the lab tells you in the message area.
Wires are curves. Drag the middle of a wire to bend it; double-click a wire to give it back its automatic curve. A wire drawn with corners shows small handles you can drag.
Nets and colors
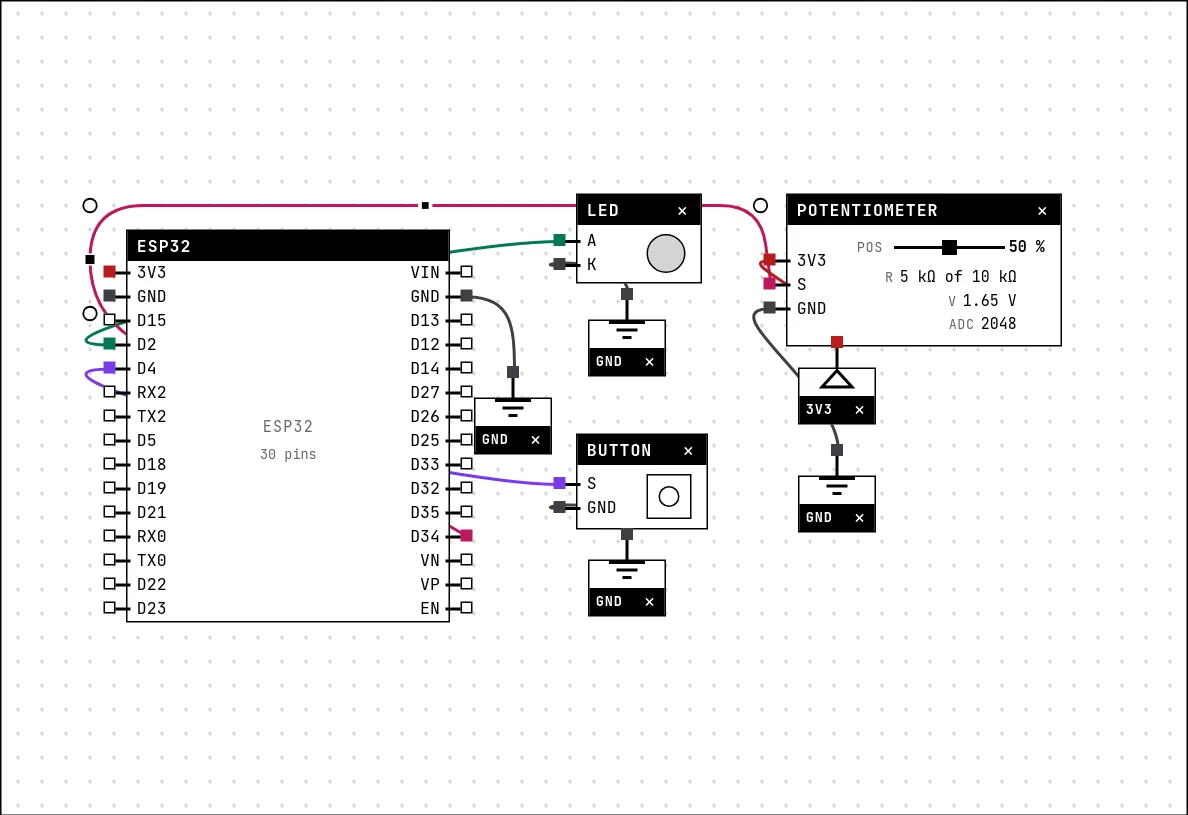
Pins joined by wires form a net: one electrical node. The lab gives each net a color, painted on the wires and on the dots of the pins, and hovering any wire, pin or junction highlights the entire net. Two nets are always the same color: GND is dark gray and 3V3 is red, as in a schematic drawn by hand.
The GND and 3V3 symbols in the catalog (category Power) are not parts: they are labels for those two global nets. Every GND symbol is the same node as every other GND symbol and as the GND pins of the board — so instead of dragging three wires to one pin, you drop a symbol next to each module. The Power & measuring guide has the details.
Junctions and free tracks
With the Wire tool, a click on empty canvas (with no wire in progress) starts a free track from a junction; double-click on empty canvas ends it with another junction. Junctions are the small circles on the canvas; they can be dragged, and a wire started on a junction connects to whatever the junction is part of.
To splice into an existing wire: start a wire from a pin, then click on the wire you want to join. The lab splits that wire at the click and creates a junction there — the three pieces are one net.
Moving, rotating, deleting
- Select is the everyday tool: drag a block by its title bar, drag a wire to bend it, drag the background to pan.
- Rotate: click a block to turn it 90° clockwise; with Shift, counter-clockwise. Or press R with the cursor over a block. The wires follow the pins.
- Delete: a click removes the wire, the junction or the block under the cursor. The × on a block's title bar removes the block as well, with its wires.
- Undo / Redo (Ctrl+Z, Ctrl+Shift+Z) work on the circuit — inside the editor they undo the text, as usual.
- Tidy up lays the modules out on both sides of the board in the order of the board pins they use; Fit to view frames everything.
Without a mouse
In edit mode the pins are in the tab order: Tab to a pin and press Enter or Space to start or end a wire. Touch works too — blocks drag and wires draw with a finger on a tablet.
See also
- Your first circuit: blink an LED — From an empty canvas to a blinking LED — placing a part, drawing wires, writing the code, saving and running. Ten minutes, and you will have used every part of the lab once.
- Power, ground and the voltmeter — The GND and 3V3 symbols, the adjustable power supply, the voltmeter, and the electrical warnings the lab raises when a wire would damage the board.
- ESP32 boards — Eight boards to choose from, pin by pin: which GPIOs reach the header, which are input-only, which have an ADC, and which must be left alone.